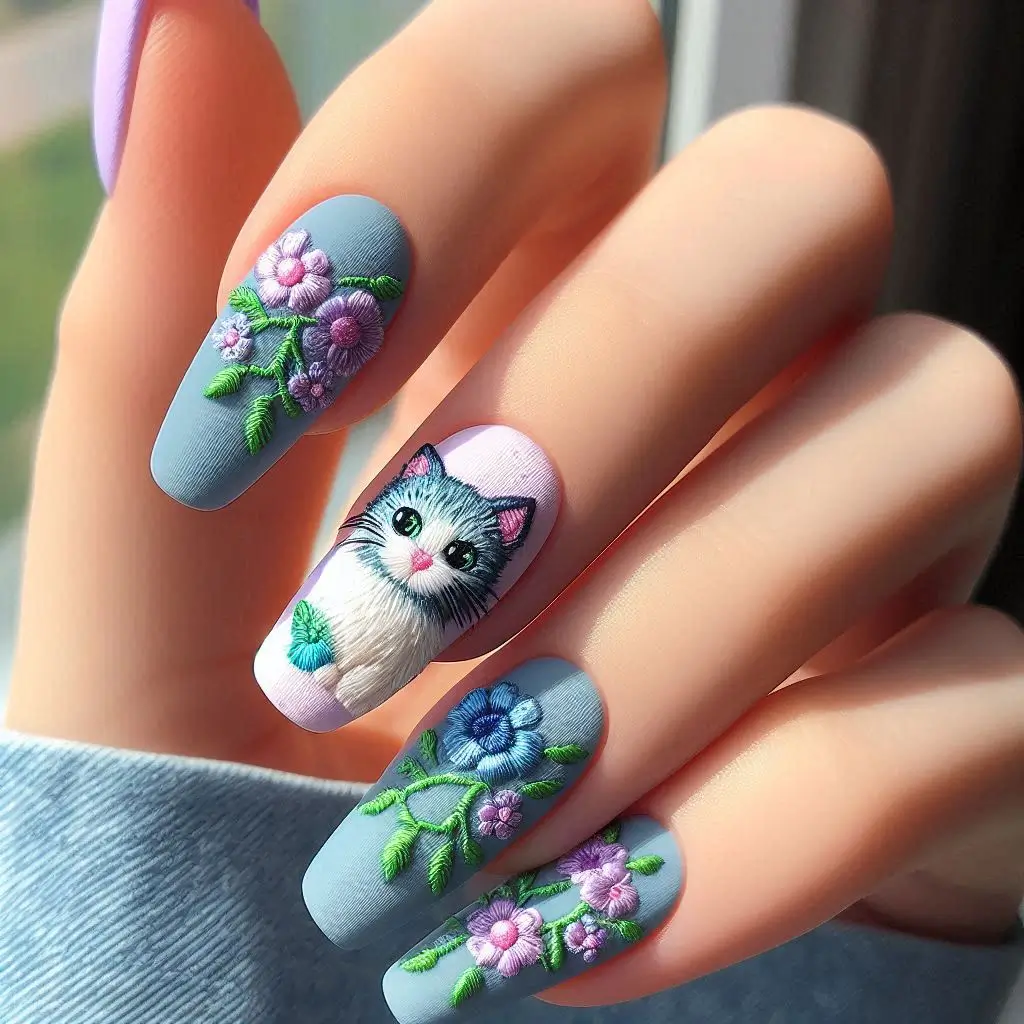
The art of decorating nails has evolved significantly over the past decade, transforming from simple color applications to intricate nail art designs that reflect personality, style, and creativity. Among the most captivating sources of inspiration are nature and animals, offering endless possibilities for creating stunning nail art that stands out.
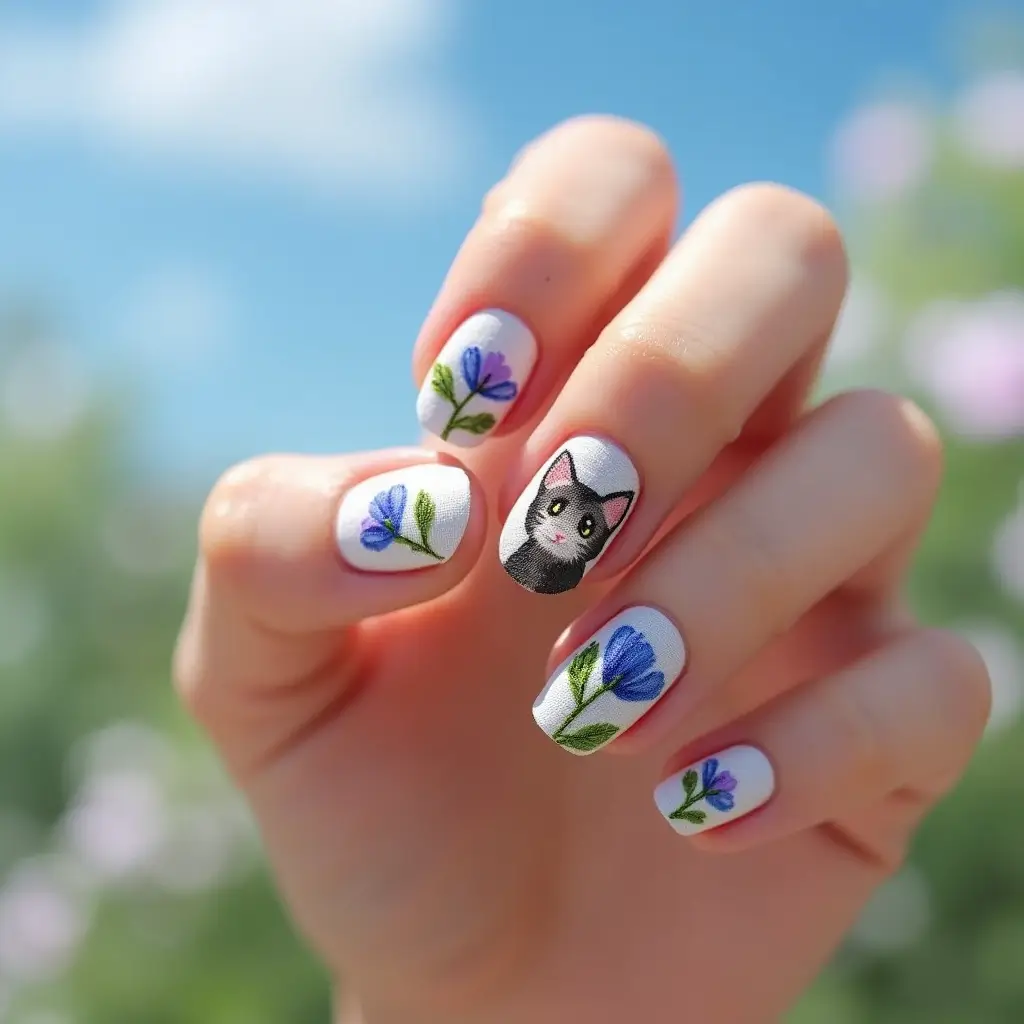
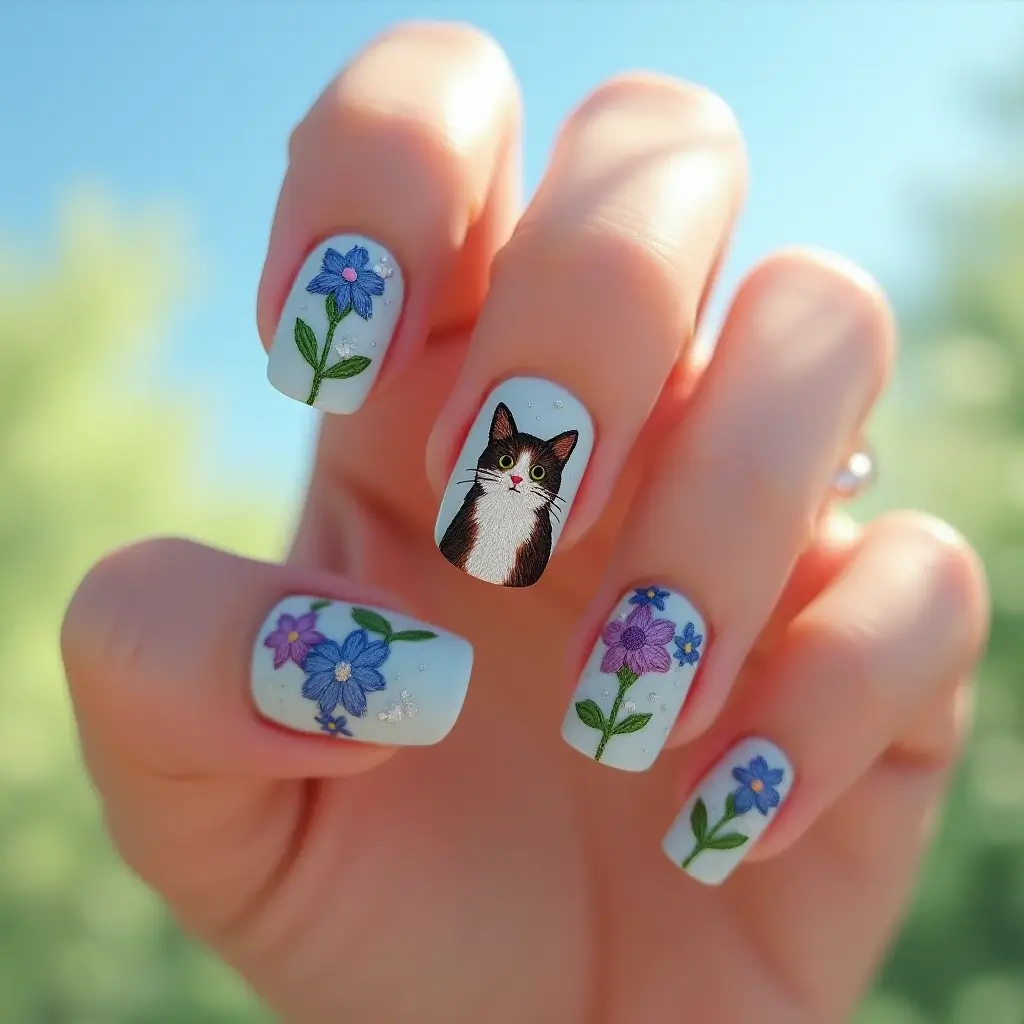
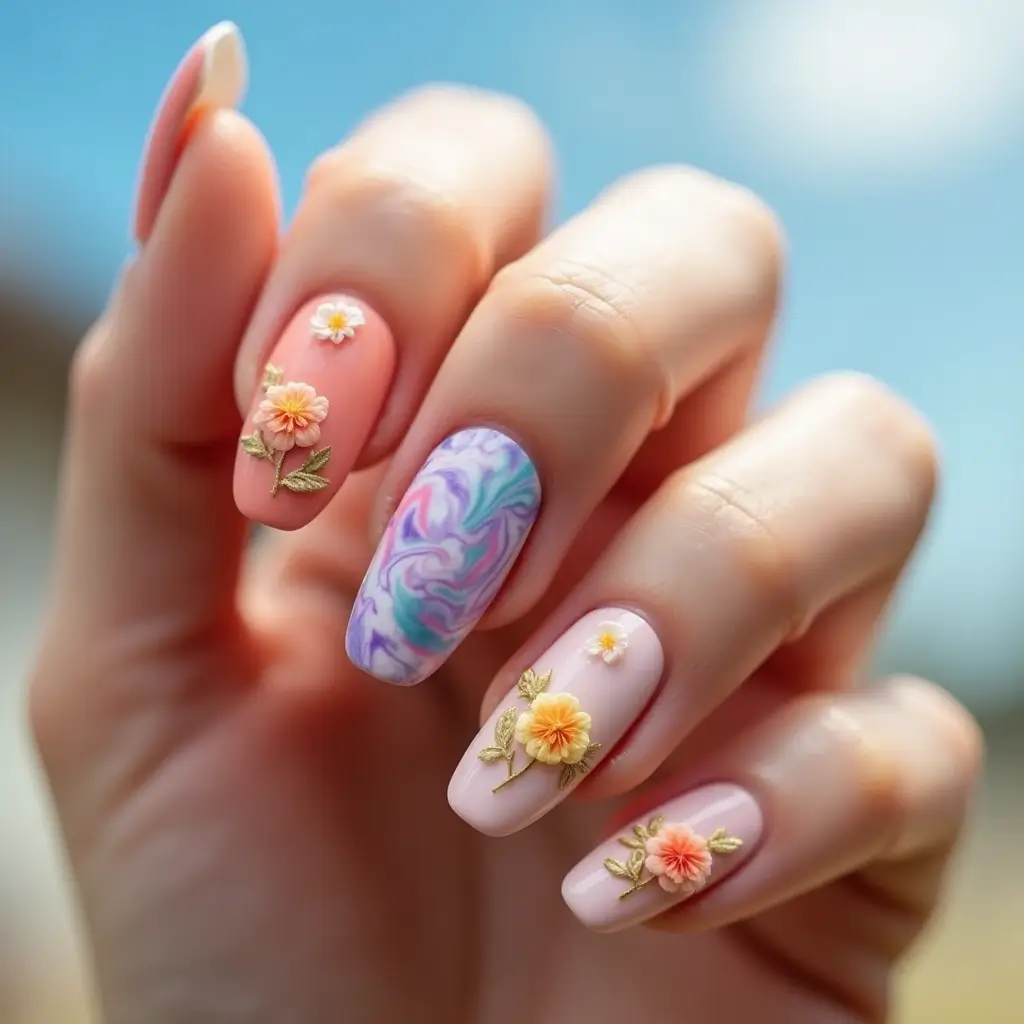
Whether you prefer subtle elegance or bold statements, nature-inspired nail art combines artistic expression with the beauty of the natural world. This comprehensive guide explores 15 exceptional nail art designs drawn from nature and animal kingdoms, providing step-by-step instructions, professional tips, and innovative techniques to help you achieve salon-quality results at home.
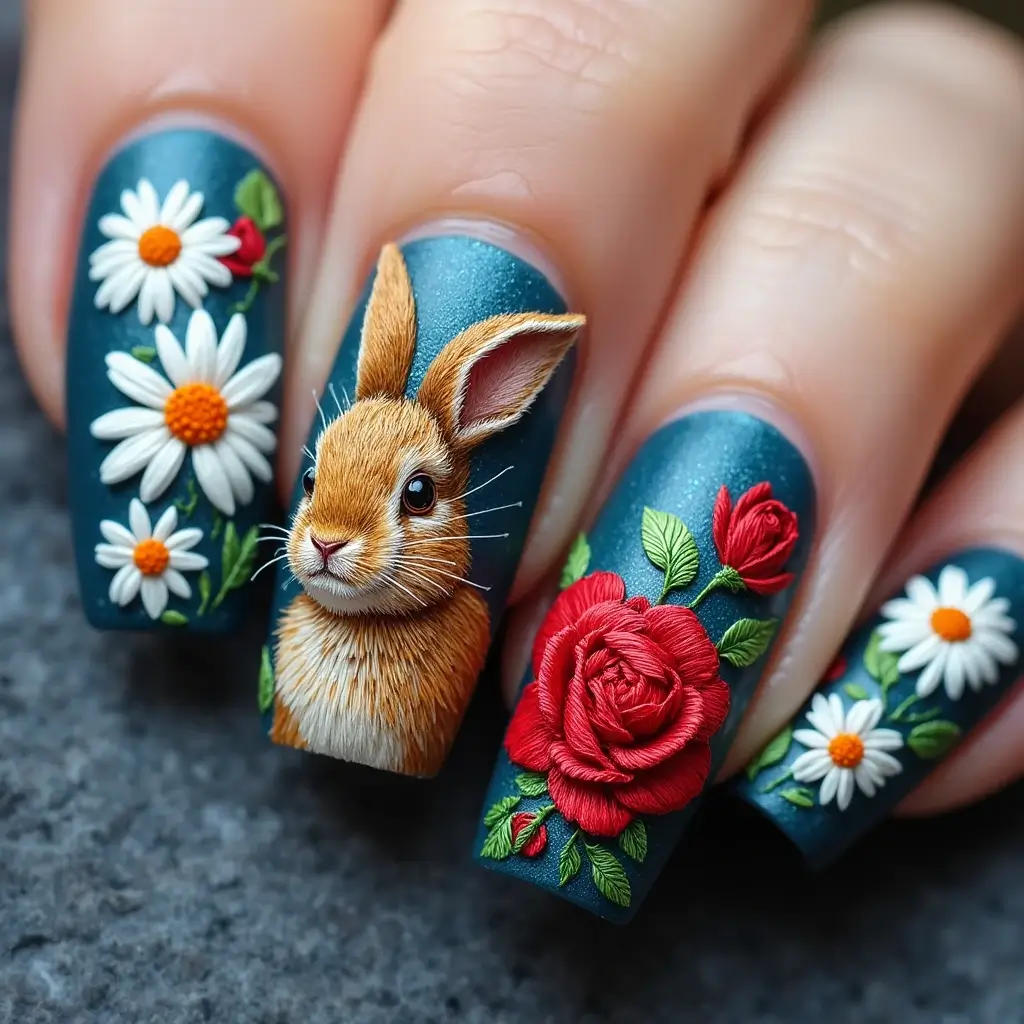
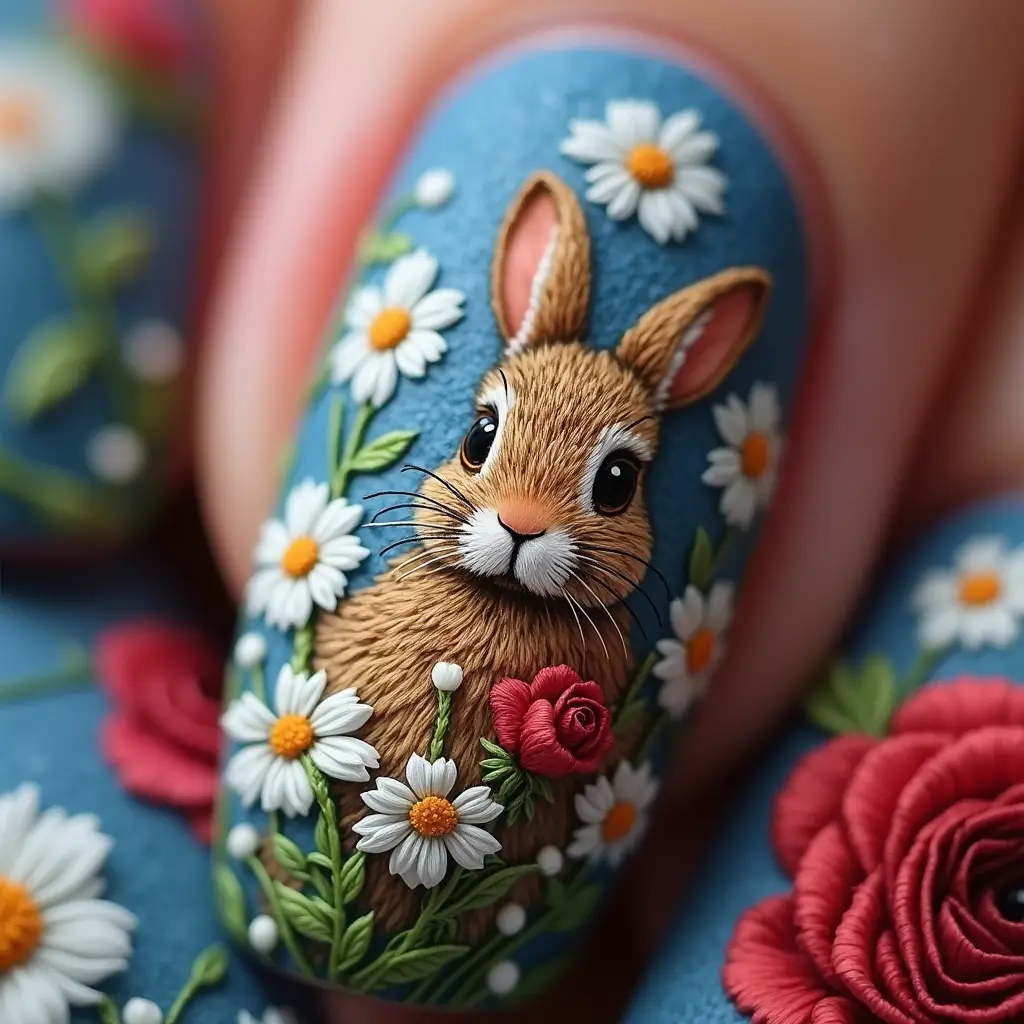
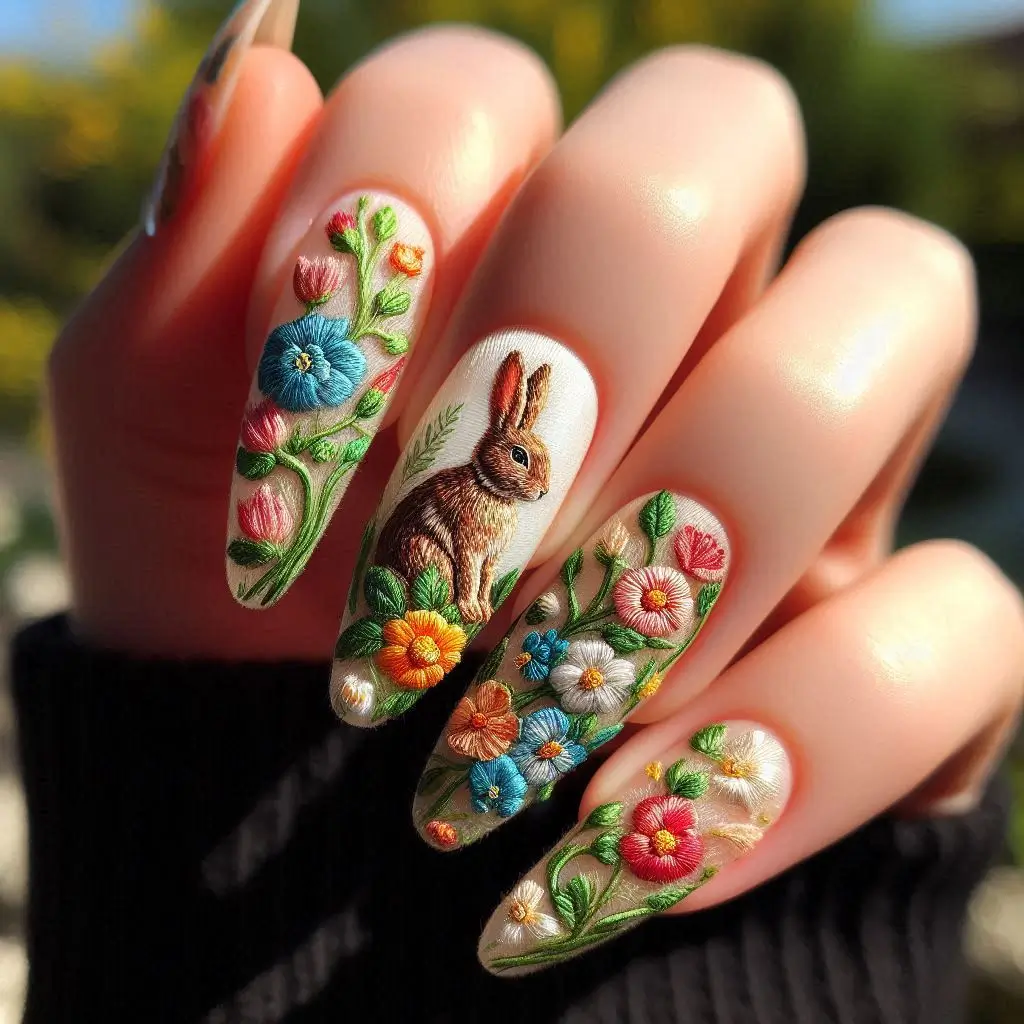
From delicate floral patterns to striking animal prints, these nail art ideas will elevate your manicure game and keep you at the forefront of nail fashion trends.
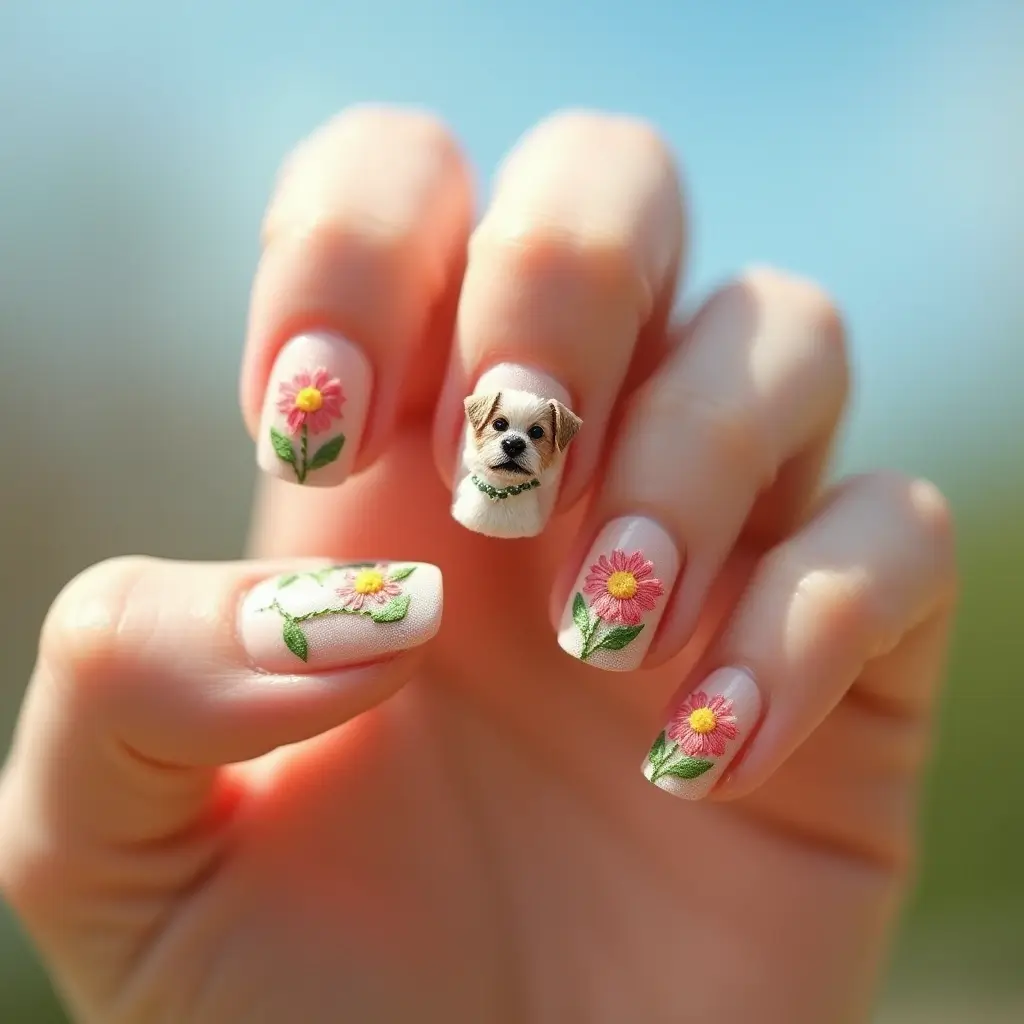
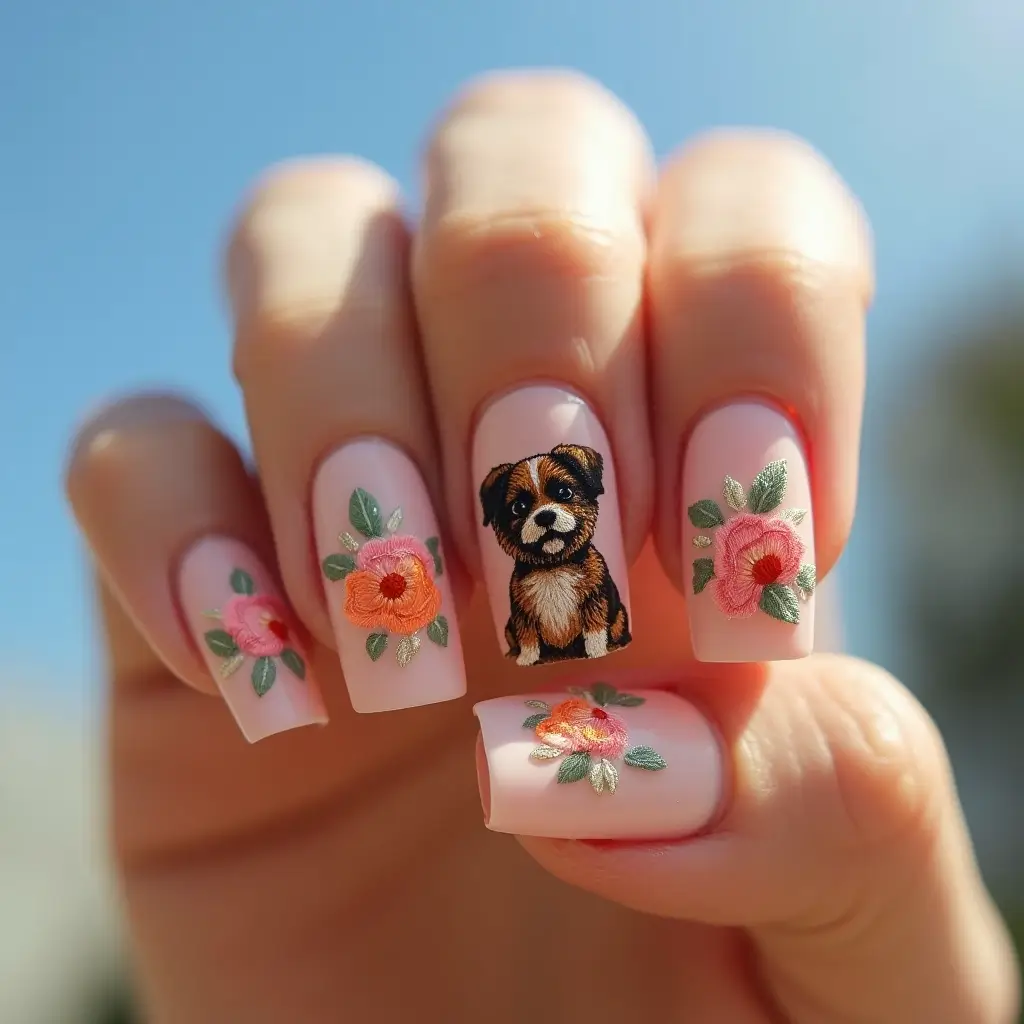
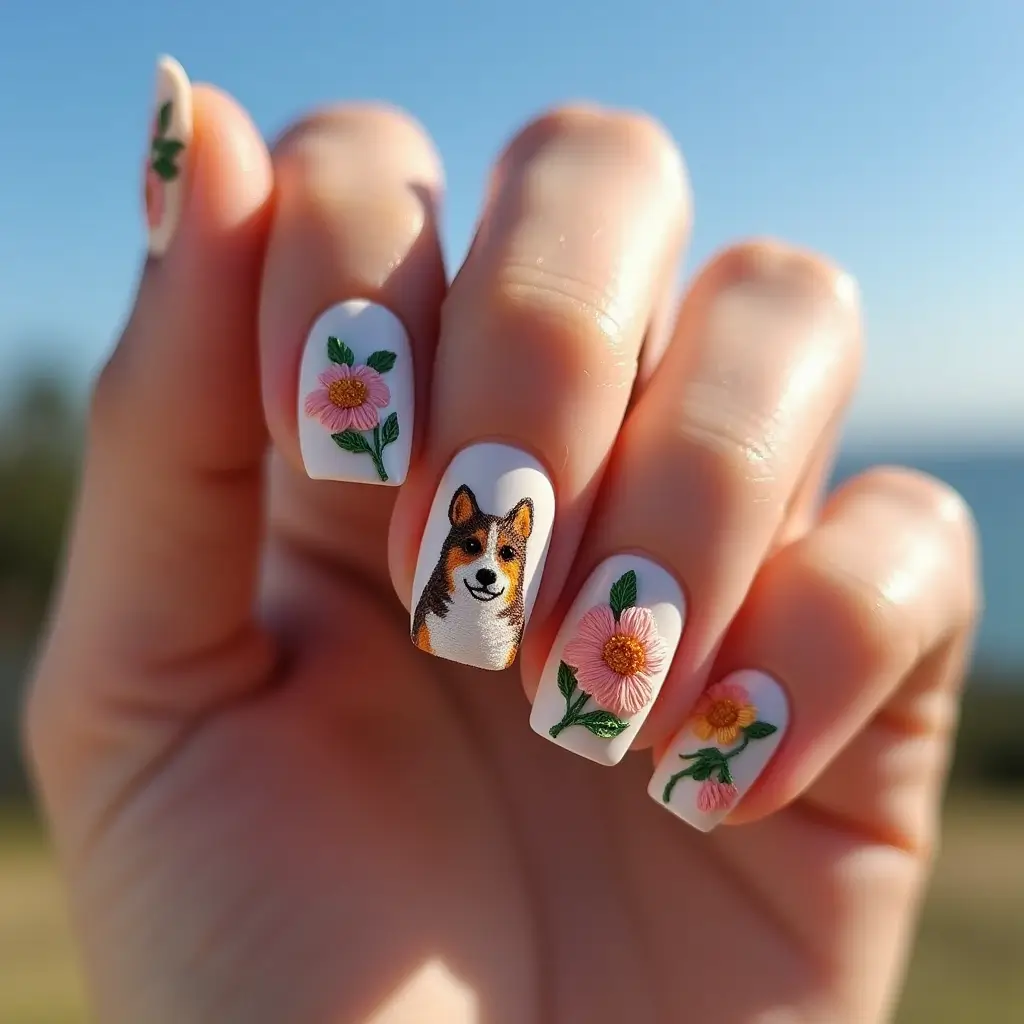
Unique Nail Designs Inspired by Nature
Nature provides an abundant source of inspiration for unique nail art designs. The organic patterns, vibrant colors, and textures found in natural environments translate beautifully to nail canvases, creating distinctive looks that capture attention.
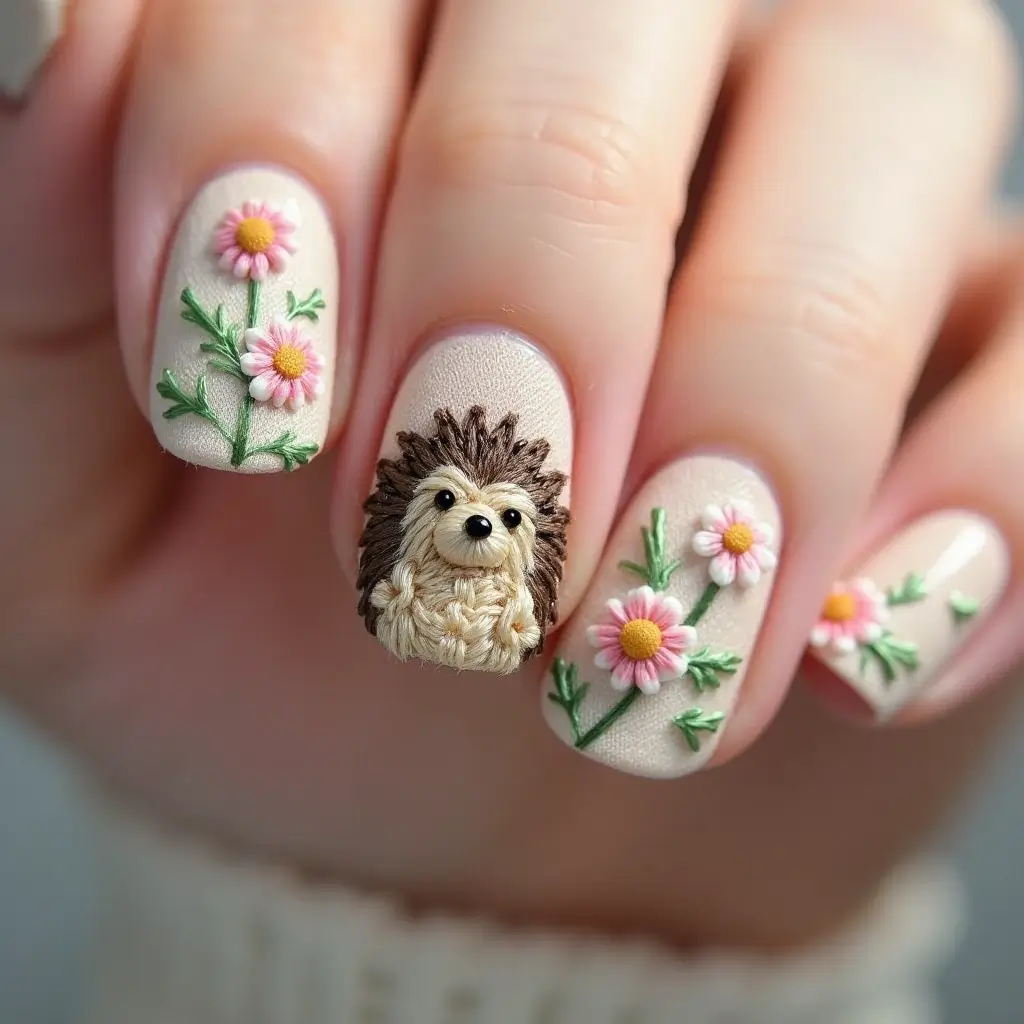
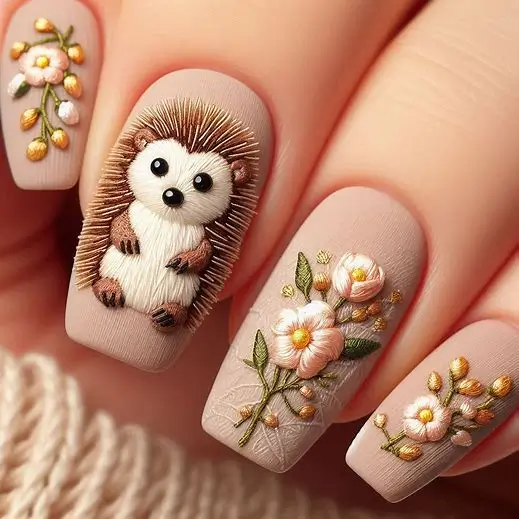
Water-inspired nail art mimics the serene flow of ocean waves or the ripple effect of raindrops on water surfaces. Using a combination of blue and white polishes with a marbling technique creates a realistic water effect that brings tranquility to your fingertips.
Sunset nail designs incorporate the breathtaking gradient colors of dusk skies. Begin with a yellow base near the cuticle, gradually blending into orange and finally deep purple at the tips. This nail art design creates a dramatic effect that’s both sophisticated and eye-catching.
Mountain landscapes offer another stunning nail art concept. Create a silhouette of mountain ranges against a colorful background for a nail design that tells a story. This technique works particularly well on longer nails where the expanded canvas allows for more detail.
3D Nail Designs
Three-dimensional nail art elevates standard manicures to extraordinary works of art. These designs add texture, depth, and visual interest to your nails, making them both a fashion statement and a conversation starter.
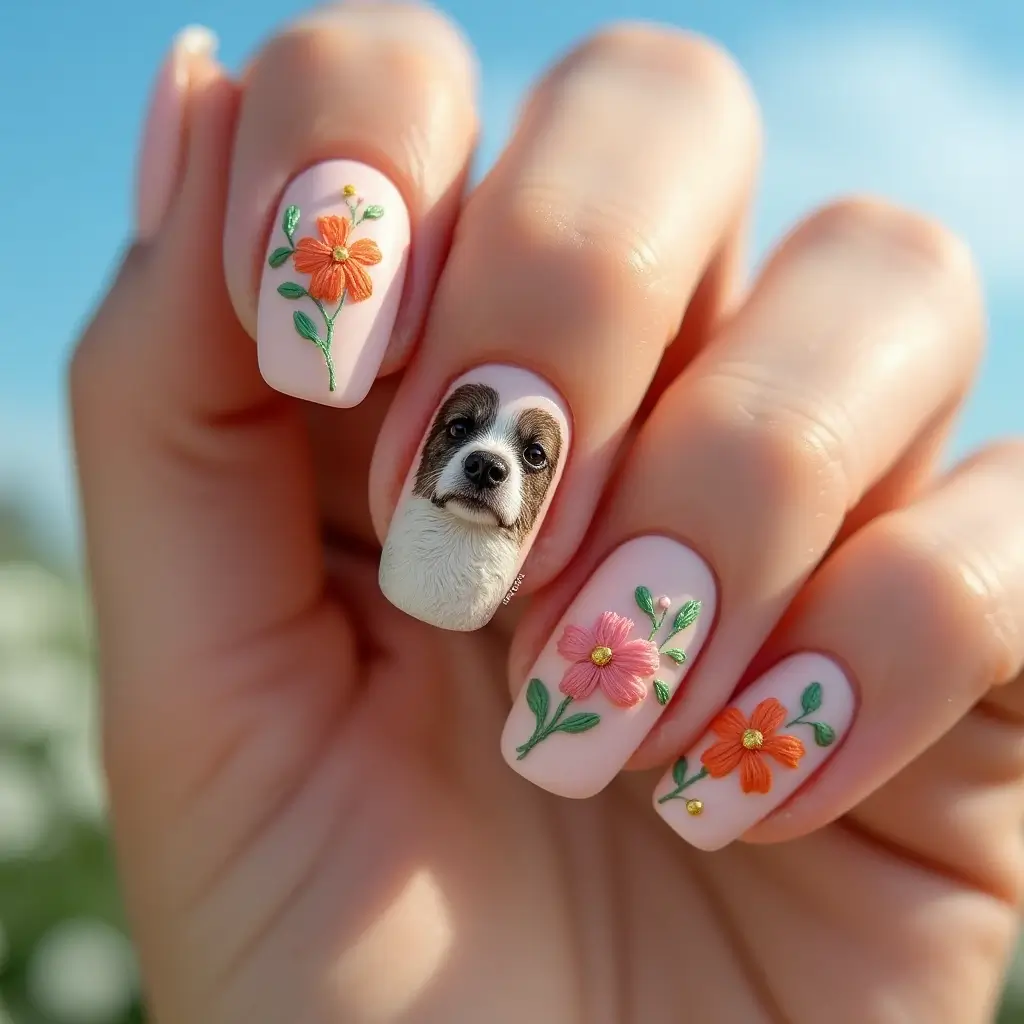
What Are 3D Nails?
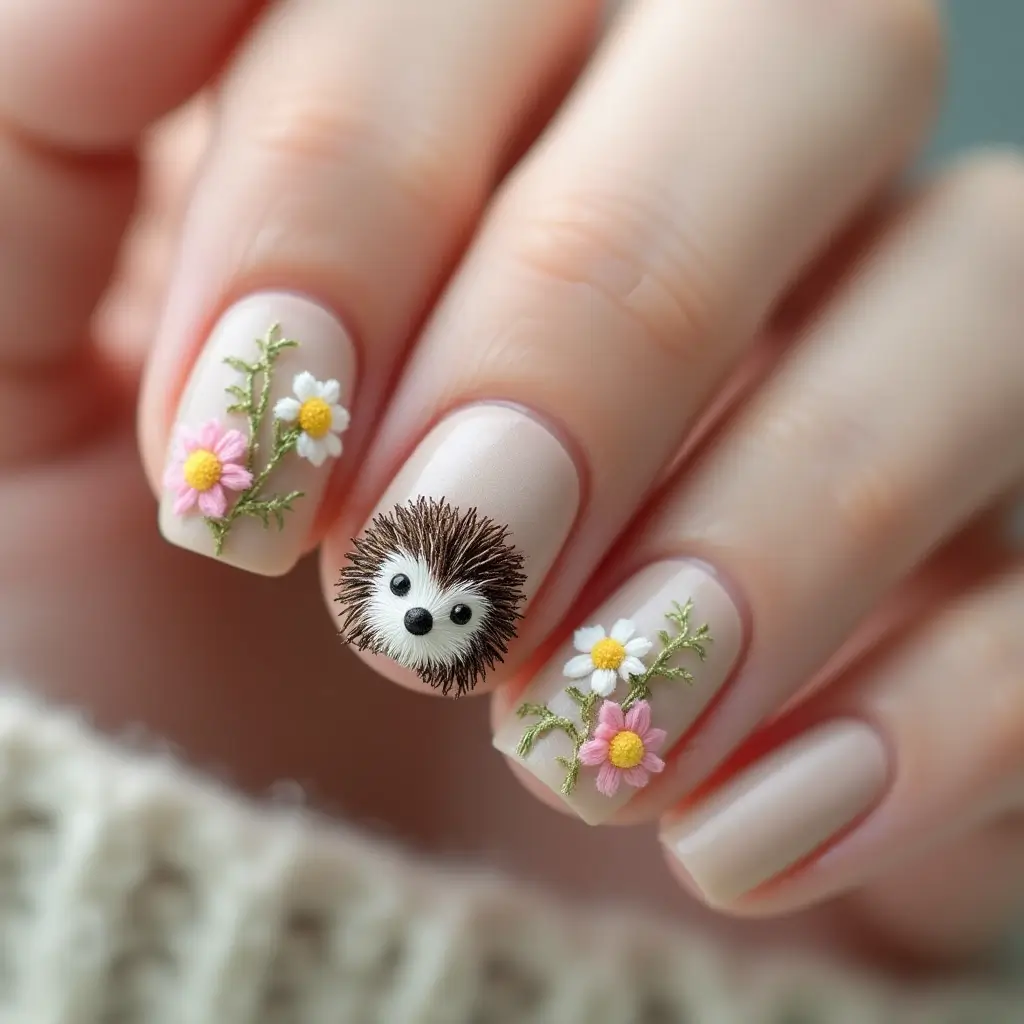
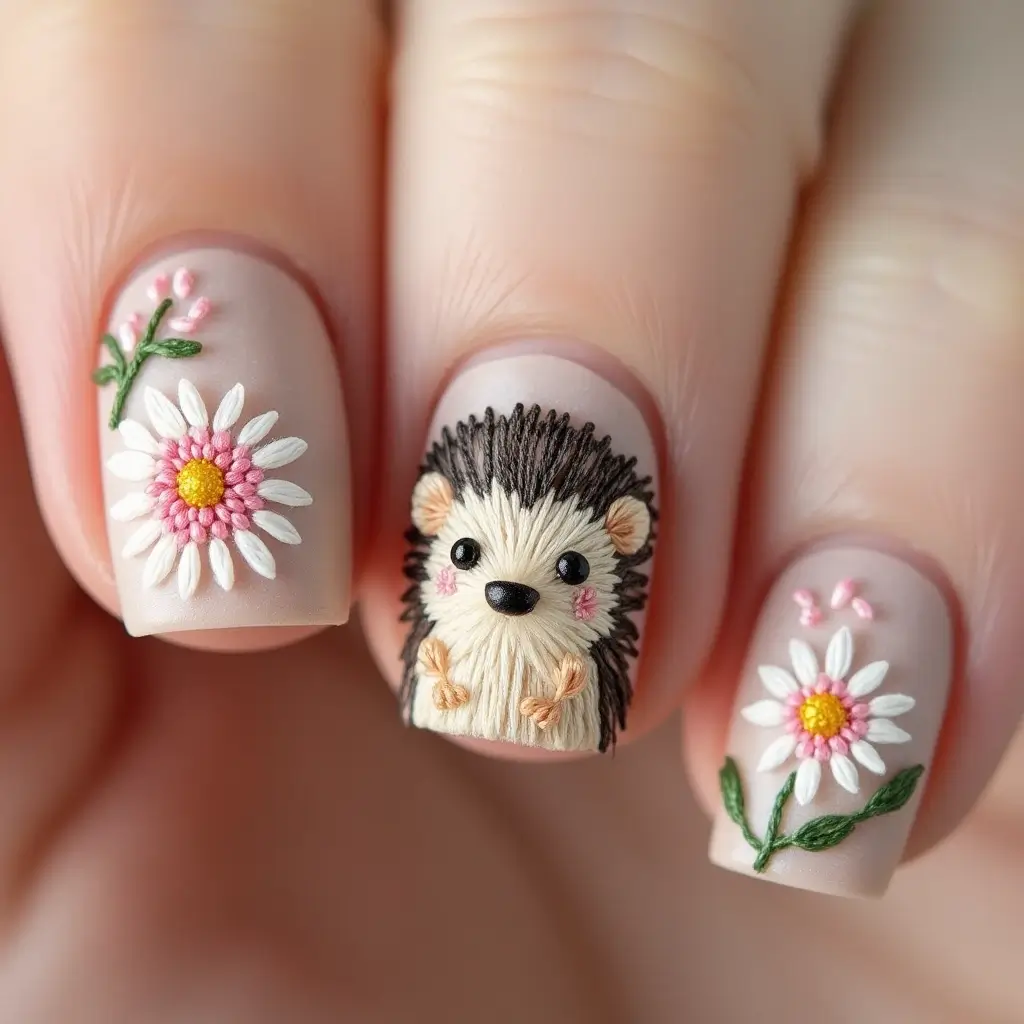
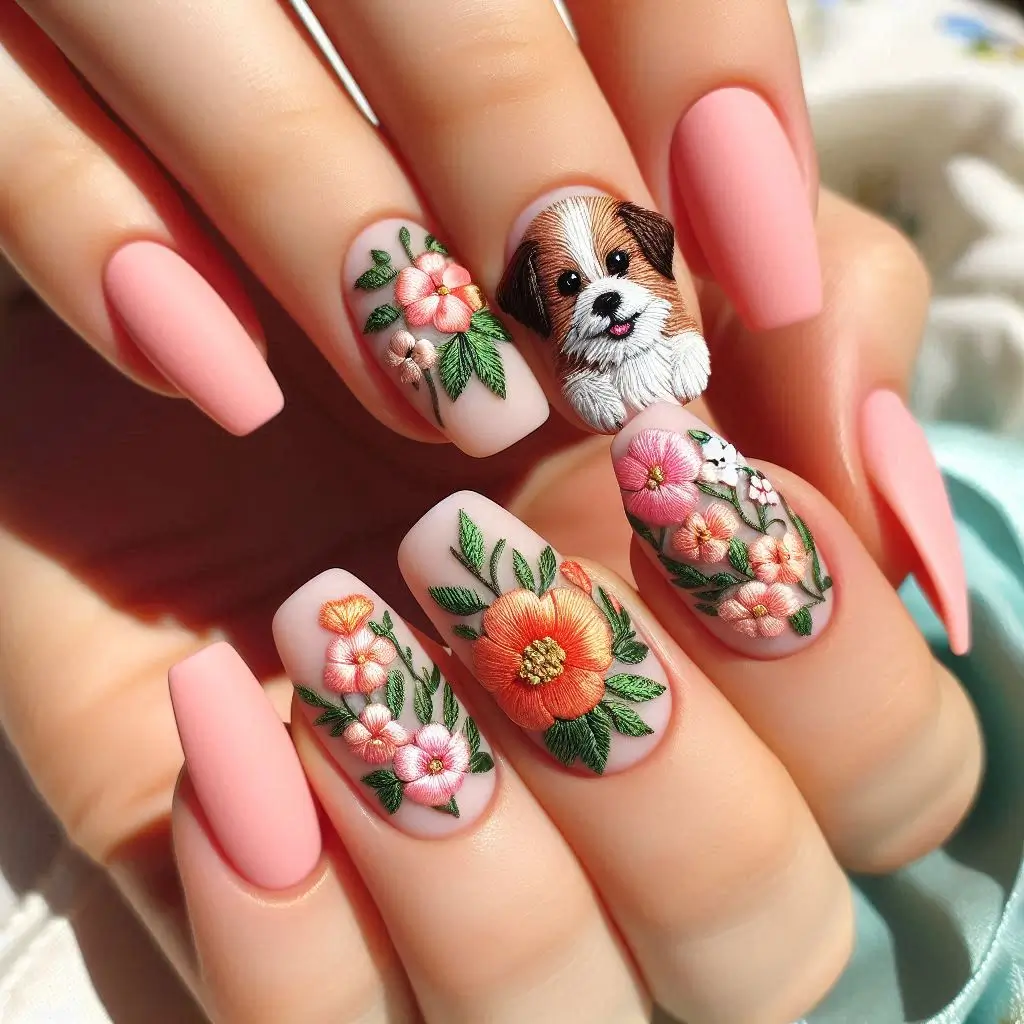
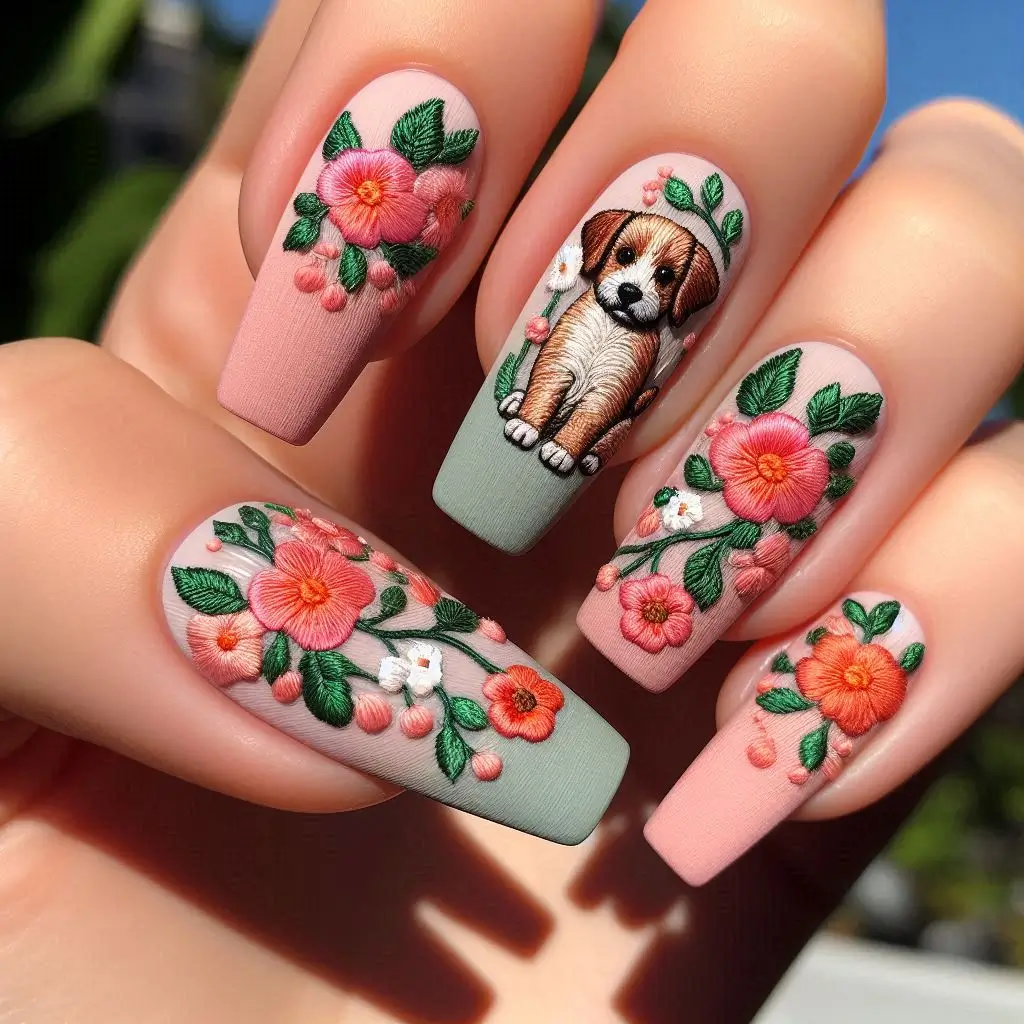
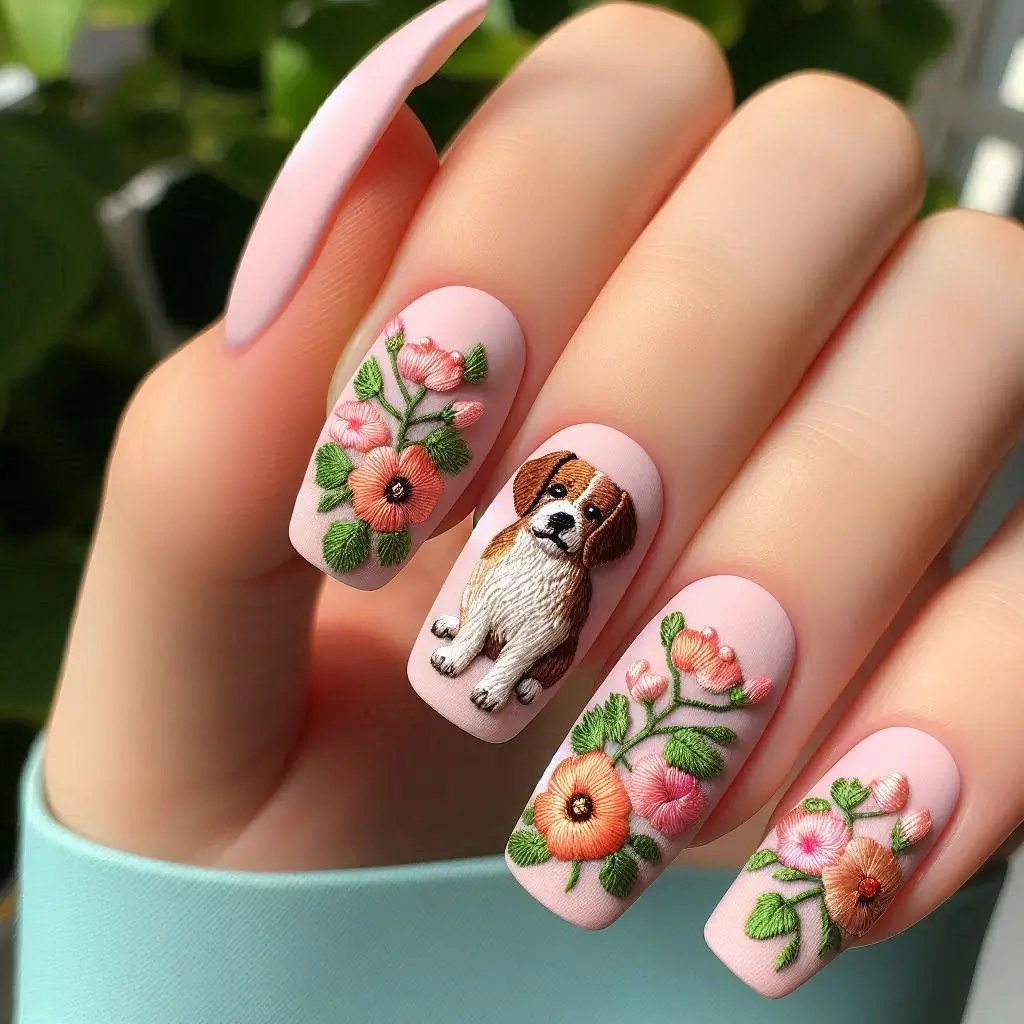
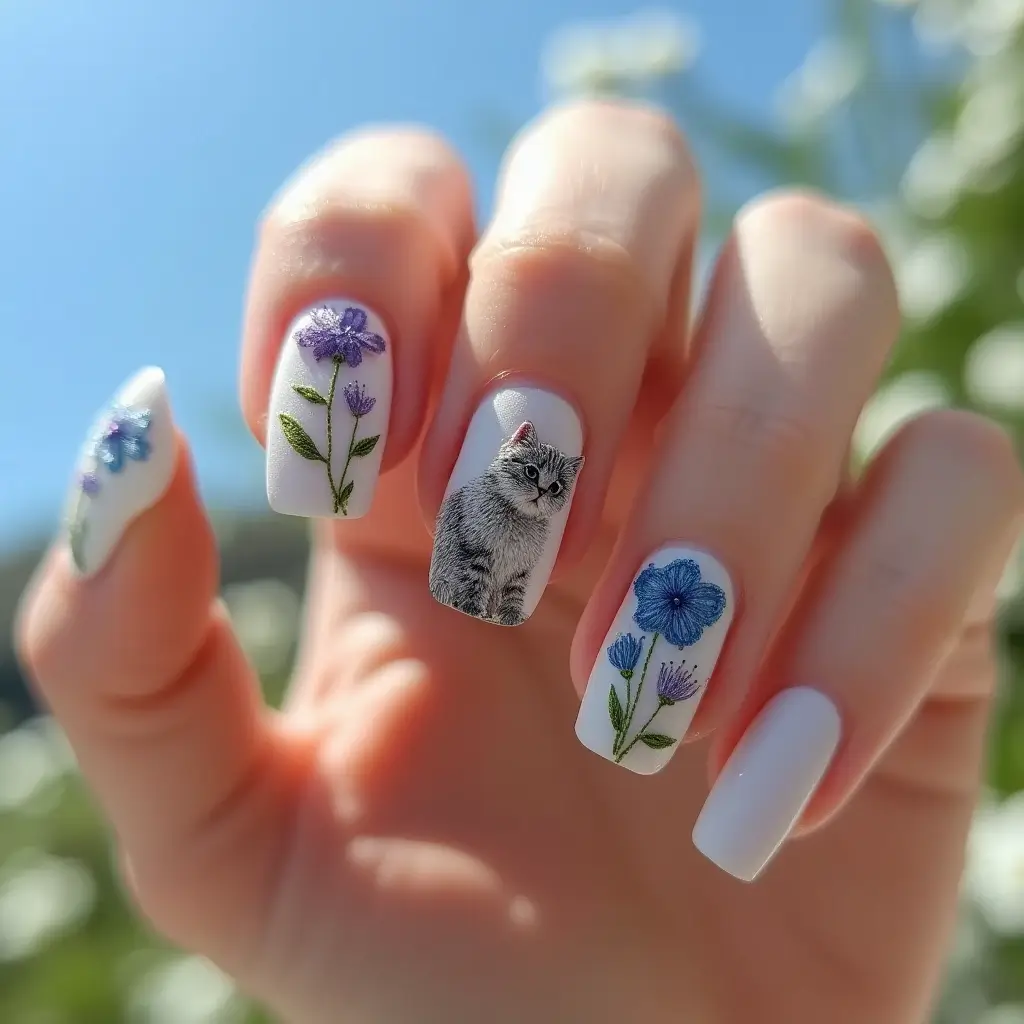
3D nail art incorporates raised elements that protrude from the nail surface, creating tactile and visual dimension. These elements can range from subtle embellishments like small gems and pearls to elaborate structures such as flowers, bows, or animal figurines constructed from acrylic or gel.
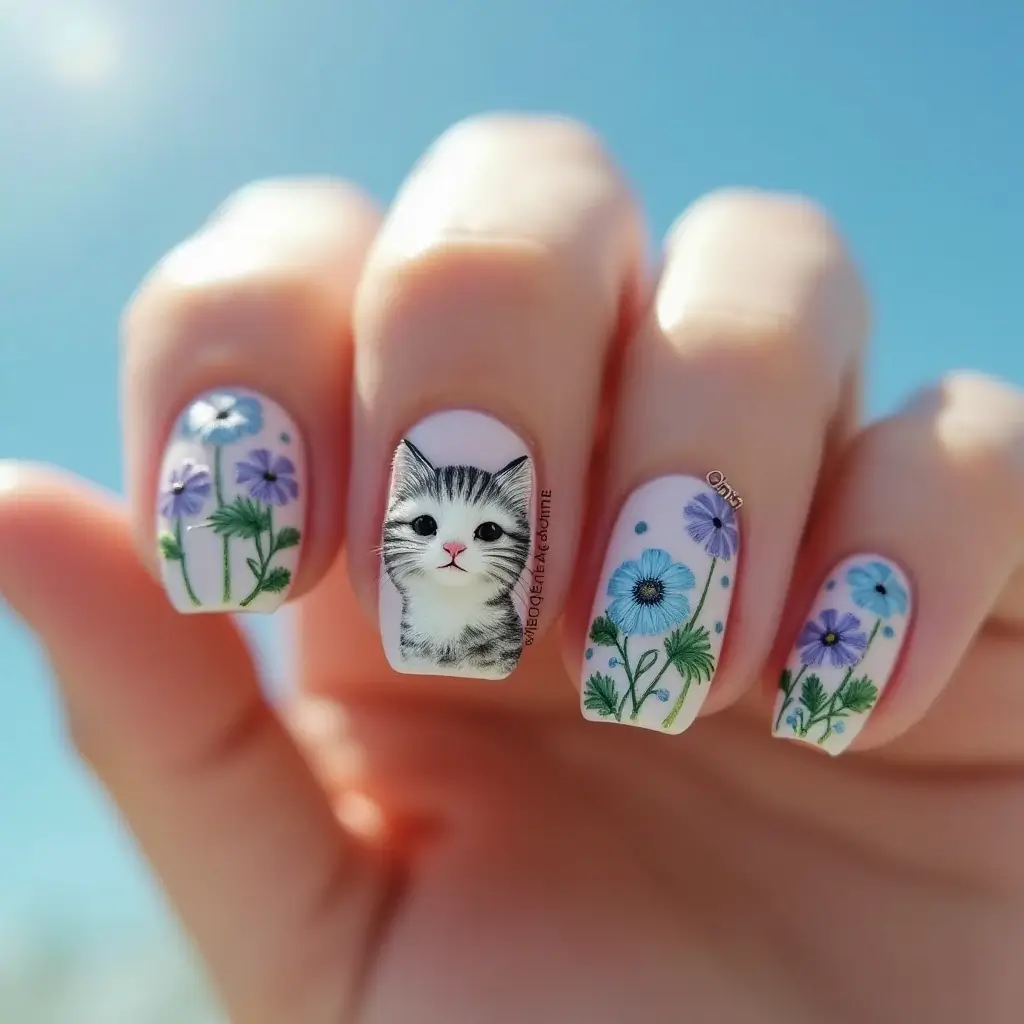
The technique requires specialized products including builder gels, acrylic powders, or polygel that can be molded and shaped before curing. The resulting designs transform nails into miniature sculptures that showcase unprecedented creativity in nail art.
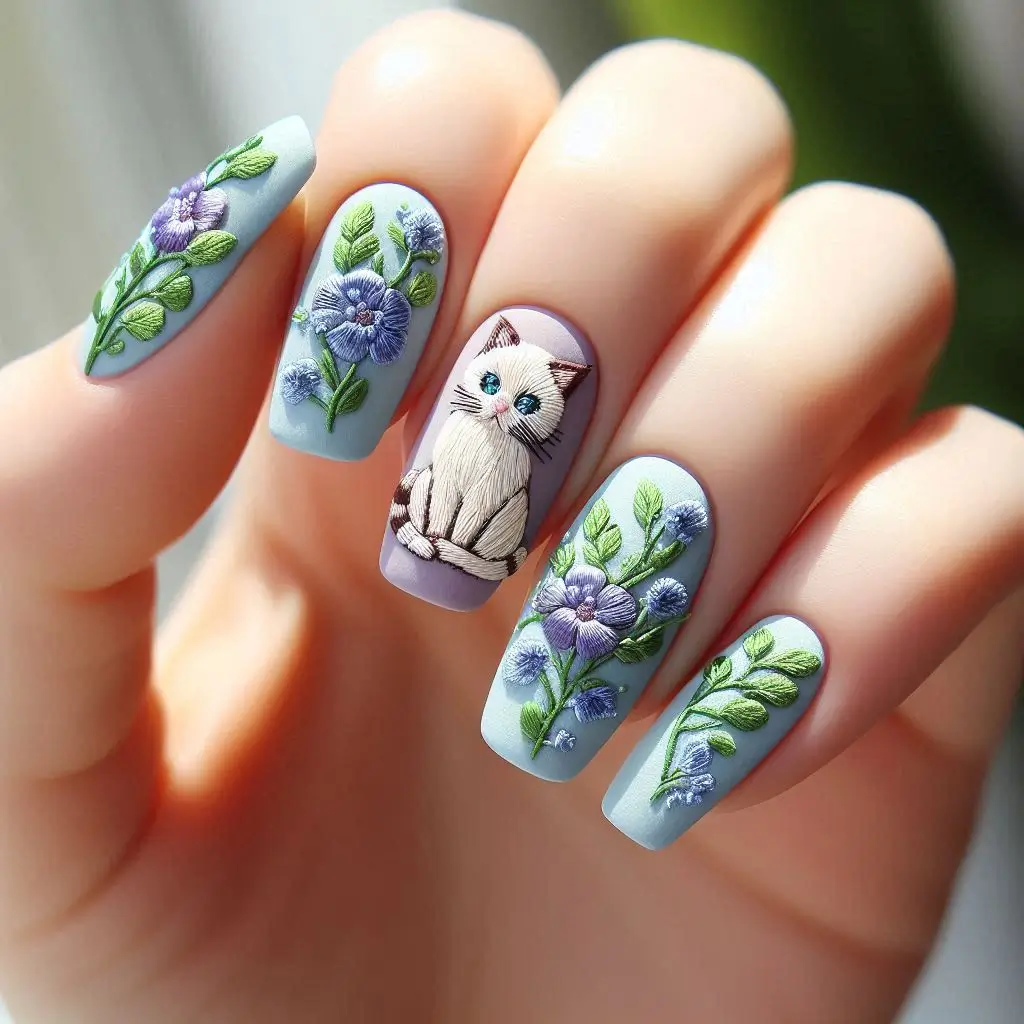
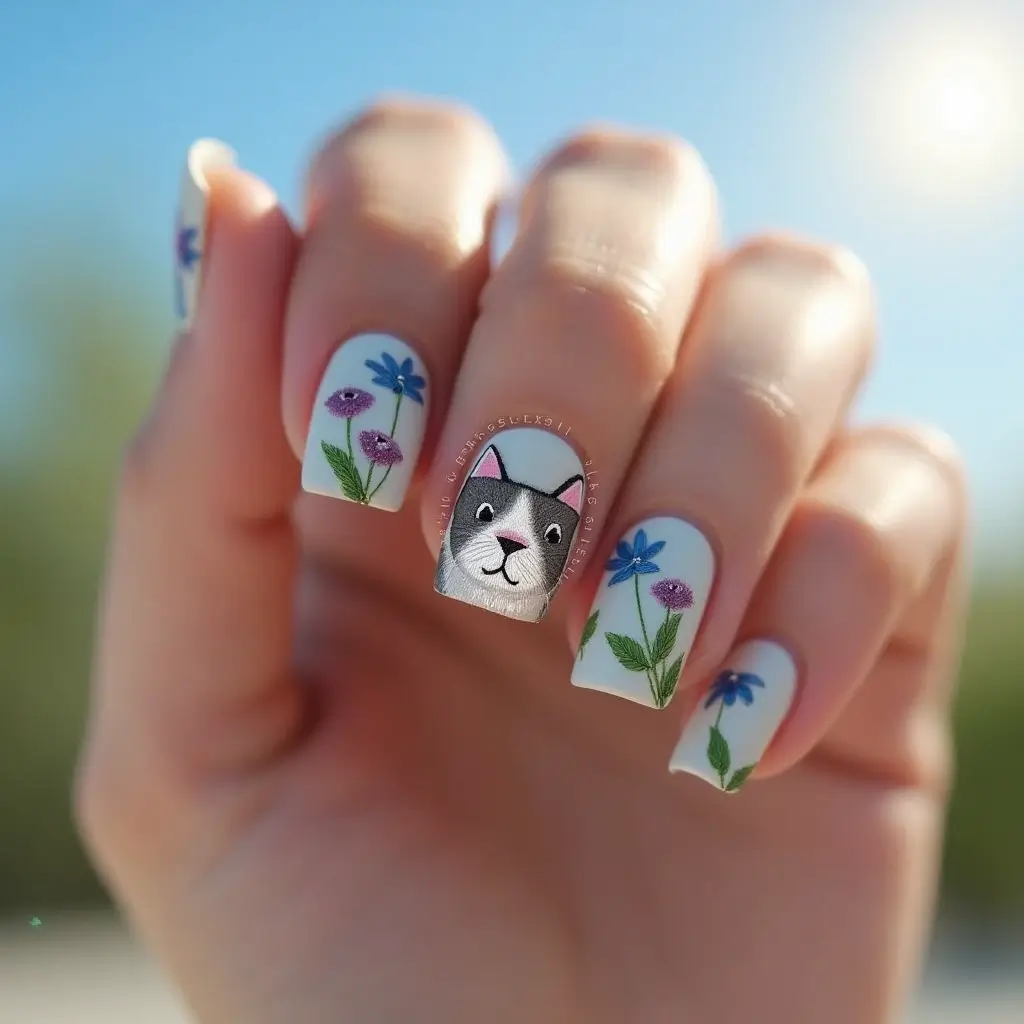
3D designs have gained immense popularity in recent years, particularly for special occasions where statement nail art enhances the overall look. From weddings to red carpet events, celebrities and fashion enthusiasts alike are embracing this trend.
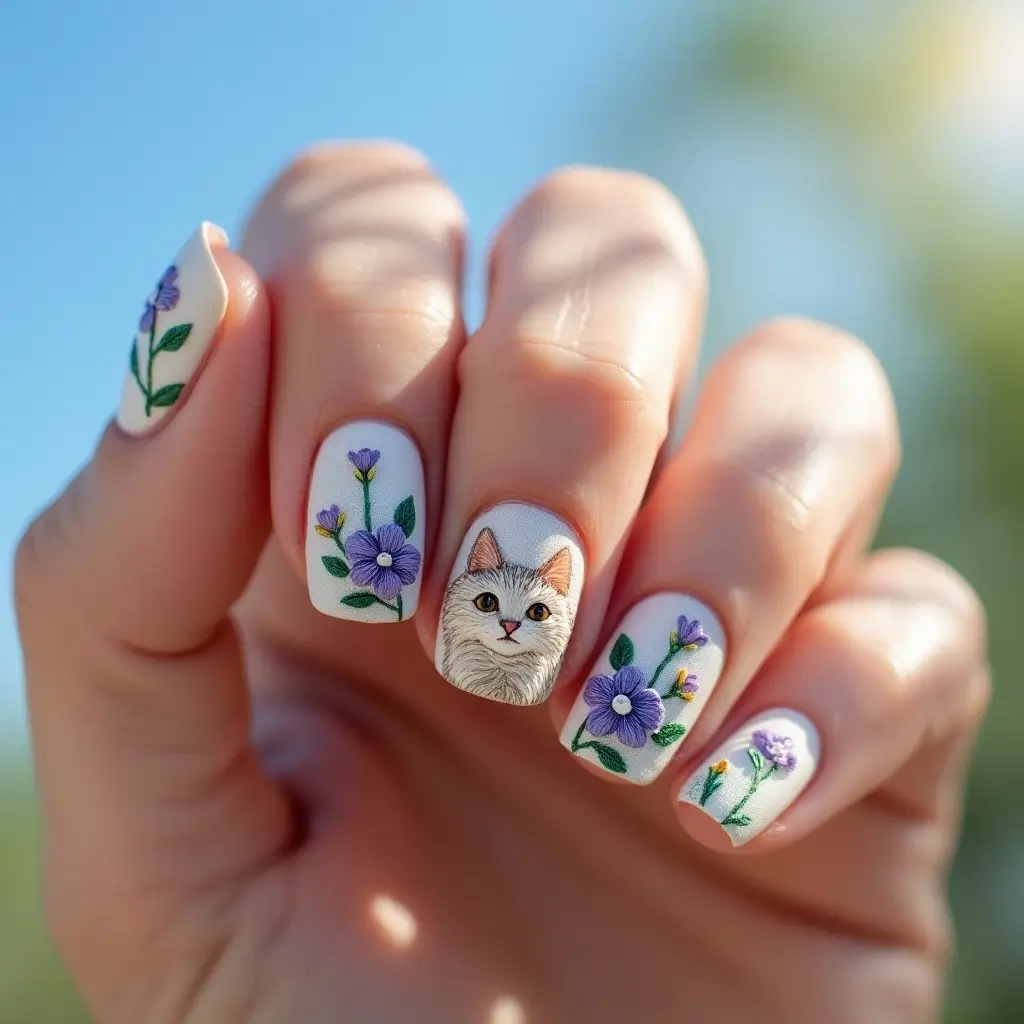
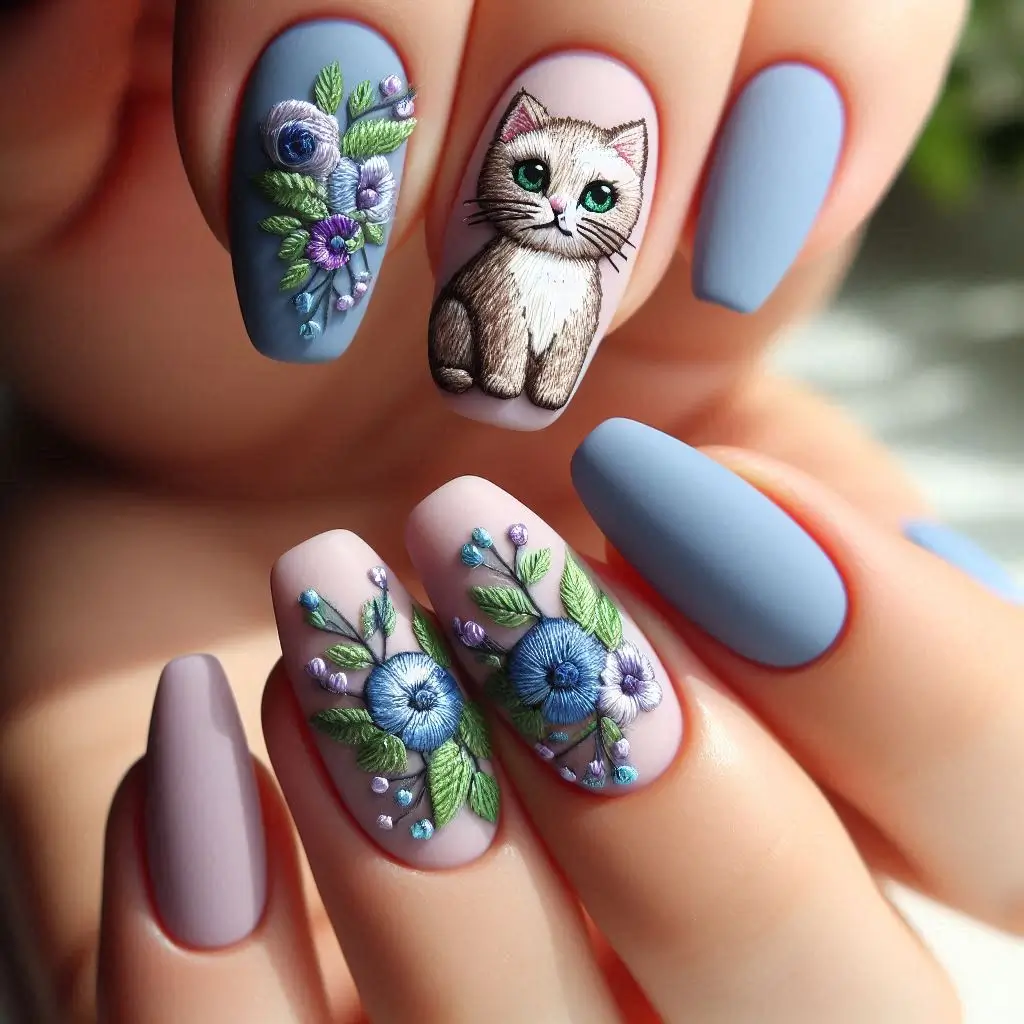
Steps to Create 3D Nail Designs with Drawings
Creating 3D nail art with nature and animal themes requires preparation, patience, and the right techniques. Follow these steps for professional-quality results:
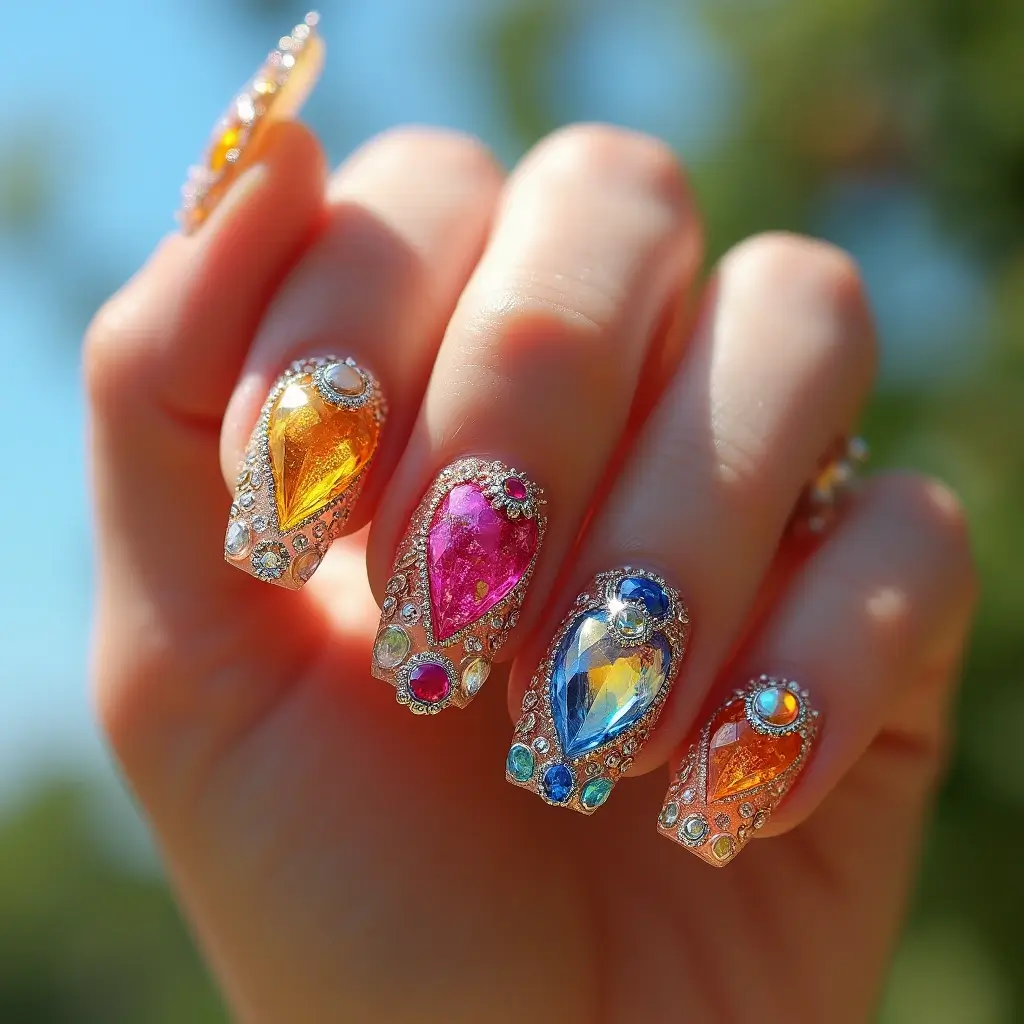
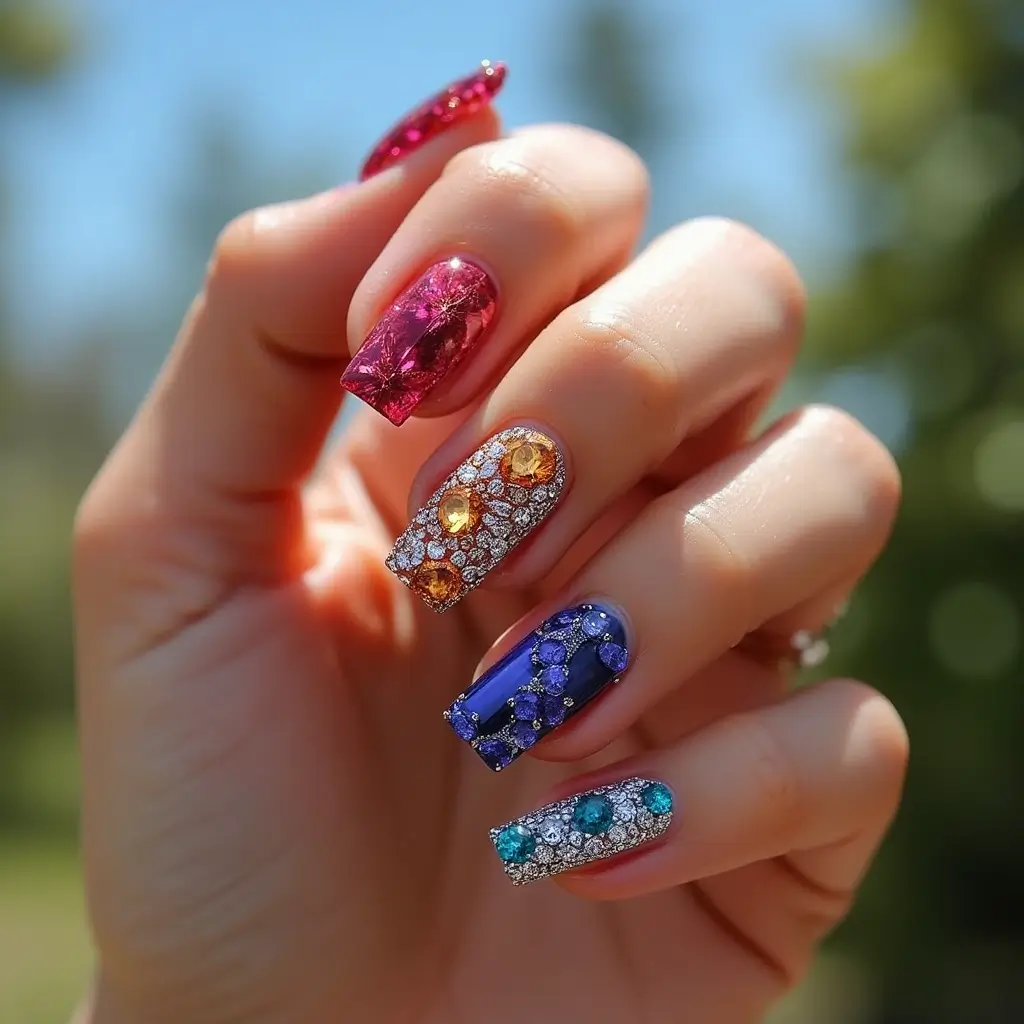
Begin with properly prepped nails, including shaping, buffing, and applying a base coat. The foundation must be perfectly smooth to support 3D elements effectively.
Apply your chosen base color and allow it to dry completely. Select colors that complement your 3D design theme for a cohesive look.
For animal-inspired designs, create the base pattern first. For example, for leopard spots, paint irregular circles with a dark polish, then outline partially with a thinner brush.
Add dimension by building up elements with builder gel or acrylic. For floral designs, create petals by placing small beads of product and shaping them with a nail art brush before curing.
Finish with a thick top coat applied carefully to seal and protect your 3D nail art without flattening the dimensional elements. Consider a gel top coat for maximum durability.
Tips for Perfect 3D Nail Art
Achieving flawless 3D nail art requires attention to detail and proper technique. Expert nail artists recommend starting with simpler designs before attempting more complex ones.
Balance is key when creating 3D nail art. Too many embellishments can make nails uncomfortable and prone to catching on clothing or hair. Consider creating statement nails on just one or two fingers rather than all ten.
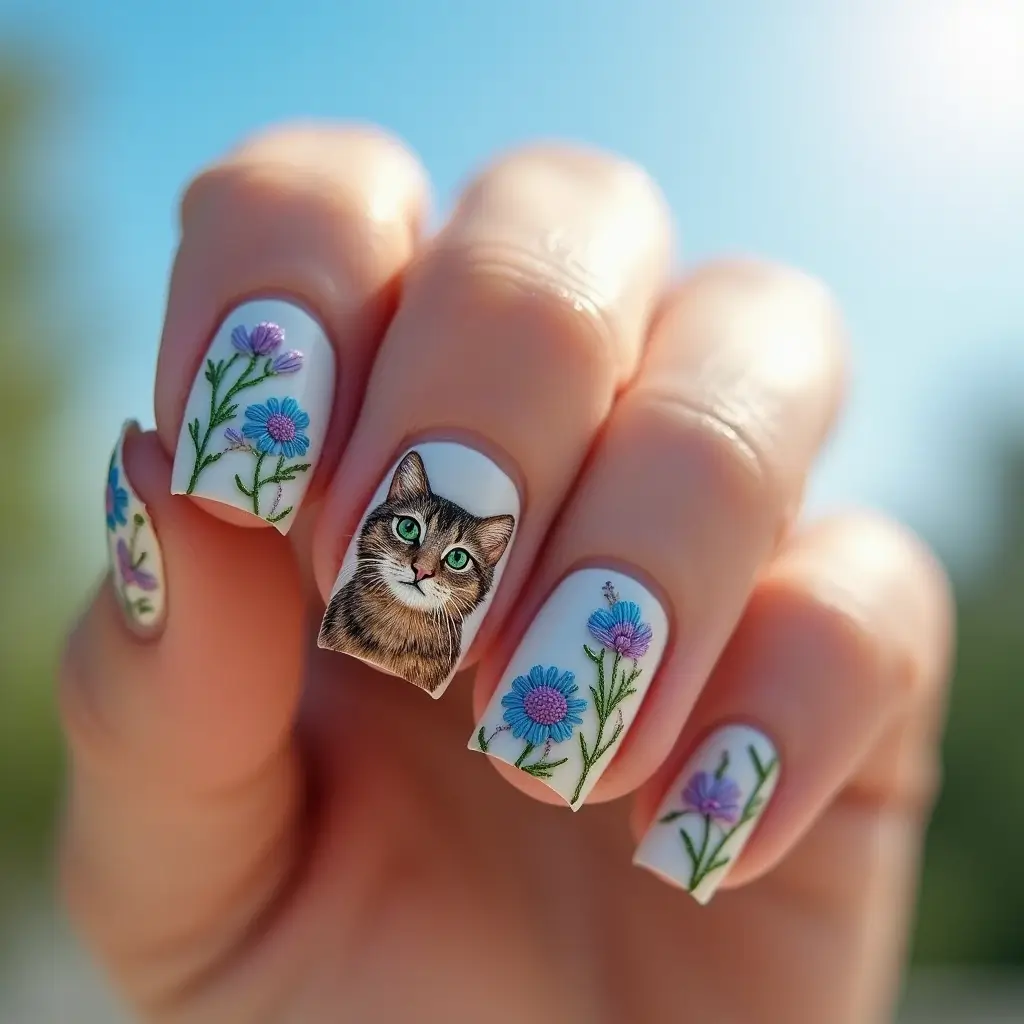
When incorporating animal motifs, focus on distinctive features like leopard spots, zebra stripes, or butterfly wings. These recognizable patterns make for striking nail art designs without requiring elaborate sculptural elements.
Use a combination of techniques for the most realistic results. For example, a butterfly design might incorporate painted wings with raised antennae and body for a multi-dimensional effect that captures the essence of the insect.
How to Keep 3D Nails Lasting Longer
The durability of 3D nail art depends largely on proper application and maintenance. With the right approach, these intricate designs can last for weeks without significant damage.
Apply a high-quality base coat before beginning your nail art design. This creates a strong foundation and helps prevent premature chipping or peeling of the elaborate design work.
Seal your completed nail art with a thick, durable top coat designed specifically for 3D elements. Apply the top coat carefully, ensuring it flows around raised areas without flattening them.
Avoid activities that put excessive pressure on nails, such as typing on hard keyboards, opening cans, or using nails as tools. These actions can dislodge 3D elements and compromise the integrity of your nail art.
Consider applying an additional layer of top coat every 2-3 days to refresh the protective seal and maintain the glossy finish of your nail art designs.
How to Combine Different Designs in One Nail Art
Creating cohesive nail art that incorporates multiple nature and animal themes requires thoughtful planning and execution. The most striking combinations maintain visual harmony while showcasing creative diversity.
Use a consistent color palette across different design elements to unify the overall look. For example, if creating a garden theme, the same green shade can appear in leaf designs, caterpillar bodies, and as accents in flower patterns.
Consider the story your nail art tells. A progression from cocoon to butterfly across multiple nails creates a narrative that’s more compelling than random placement of different designs.
Alternate complex and simple designs for balance. If one nail features an elaborate 3D flower, adjacent nails might display simpler leaf patterns or solid colors from the same palette.
Create accent nails that showcase the most detailed or dimensional designs, while keeping other nails in complementary but less complex styles. This approach creates visual interest without overwhelming the overall appearance.
The Risks and Dangers of 3D Nails
While 3D nail art offers stunning aesthetic possibilities, understanding potential risks helps ensure a safe and enjoyable experience with these elaborate designs.
Weight distribution can be problematic with excessive 3D elements. Heavy embellishments may put strain on the natural nail, potentially leading to breakage or lifting of the design. Keep heavier elements toward the center of the nail rather than at the tip.
Be cautious about sharp edges or protruding elements that might catch on clothing or scratch skin. Ensure all components are properly secured and smooth to prevent accidental injuries.
Some materials used in 3D nail art may cause allergic reactions in sensitive individuals. Always test new products on a small area before applying them extensively, and be aware of any unusual sensations like burning or itching during or after application.
Extended wear of 3D nail designs, particularly those that completely cover the nail bed, may trap moisture and create conditions favorable for bacterial or fungal growth. Allow nails to “breathe” between elaborate manicures.
How to Choose the Right Colors for Nail Art Designs
Color selection dramatically impacts the effectiveness of nature and animal-inspired nail art. Understanding color theory helps create designs that accurately reflect natural inspiration.
For realistic nature depictions, observe the subtle color variations in your inspiration source. Real flowers, for instance, rarely display a single solid color but instead show gradients and complementary hues that add depth and authenticity.
Consider seasonal appropriateness when selecting colors for nature-themed nail art. Spring designs might feature pastel flowers and butterfly motifs, while autumn nail art could incorporate warm oranges and browns with leaf patterns.
Animal-inspired nail art benefits from careful observation of actual animal markings. Leopard spots, for example, aren’t simply black dots on yellow but complex patterns with dark outlines surrounding lighter centers.
Create contrast between background and foreground elements to ensure your nail art designs stand out clearly. A pale blue background makes white snowflakes pop, while dark bases showcase luminescent jellyfish or firefly designs effectively.
Test color combinations before committing to a full manicure. Paint small swatches on a practice wheel to ensure your chosen palette achieves the desired effect for your nature or animal-inspired nail art.
Flower Nail Art Designs
Floral nail art remains perennially popular, offering endless variety through different flower species, arrangements, and techniques. These designs capture nature’s elegance on the miniature canvas of your nails.
Cherry blossom nail art creates a delicate, romantic look inspired by these iconic spring flowers. Start with a pale pink or neutral background, then add thin branches using a fine detail brush. Create blossoms using a dotting tool to place five small dots in a circular pattern, with slightly larger central dots in a deeper pink shade.
Sunflower designs make bold, cheerful statements on nails. Create these iconic flowers by painting small yellow petals around a dark brown center, using a yellow base coat to enhance the sunny effect. This nail art design works particularly well as an accent nail paired with solid yellow or green nails.
Tulip nail art offers clean, geometric shapes that work well on shorter nails. Create simple tulip silhouettes using bright spring colors against a neutral background, or try a negative space technique where the flower shape remains unpolished while the surrounding area is colored.
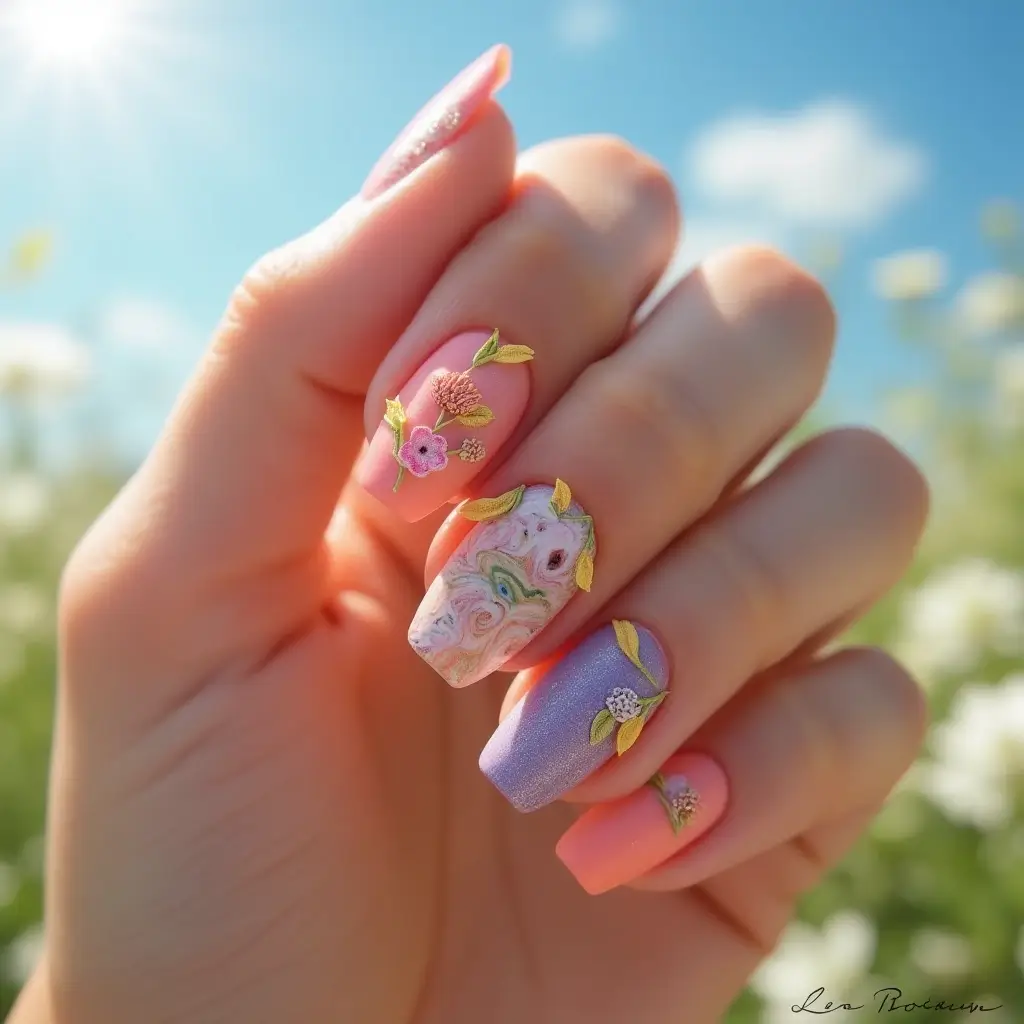
Wildflower nail designs incorporate a variety of small, colorful blooms for a meadow-inspired look. This freestyle approach allows for creative expression without requiring perfect symmetry or precise replication of specific flower types.
Animal-Inspired Nail Art
Animal-inspired nail art ranges from subtle references to realistic depictions, offering options for both conservative and bold personal styles.
Leopard print nail art remains a classic choice that never goes out of style. The distinctive pattern works well as a full-nail design or as accents on tips or selected nails. For a contemporary twist, try non-traditional color combinations like blue and silver or pink and gold instead of the traditional yellow and black.
Butterfly nail art symbolizes transformation and beauty. Create these elegant creatures using a wing outline filled with gradient colors and detailed with fine lines. Add tiny antennae using a super-fine detail brush for a finishing touch. For added dimension, consider 3D elements for the butterfly body.
Snake skin nail art offers a textured, sophisticated look that works especially well in neutral tones. Create the distinctive scale pattern using a small dotting tool or toothpick to draw overlapping semicircles, then highlight with a metallic shade for a realistic reptilian sheen.
Peacock feather designs showcase one of nature’s most spectacular displays. Use a dark base coat, then create the distinctive “eye” pattern using teal, blue, and purple shades with a gold or bronze center. This nail art design creates dramatic impact even when applied to just one accent nail.
Best Nail Shapes for Nature-Inspired Nail Art
Different nail shapes provide varying canvases for nature and animal-inspired nail art, with some shapes better suited to particular designs than others.
Oval nails offer a classical shape with significant surface area, making them ideal for detailed floral arrangements or landscape scenes. The curved edge provides a natural frame for designs that follow the nail’s contour, such as climbing vines or wrapped animal tails.
Stiletto nails, with their dramatic pointed shape, create perfect canvases for designs that benefit from directional flow. Consider snake designs that slither from cuticle to tip, or tall flowers like irises and tulips that follow the nail’s natural taper.
Squoval (square-oval) nails provide stable edges with softened corners, creating an excellent foundation for geometric animal patterns like tortoise shell or honeycomb. This shape works well for most hand types and activities while still offering ample space for detailed nail art.
Coffin or ballerina nails, with their tapered sides and flat tips, provide expanded surface area for elaborate scenes or multiple elements. Their length makes them ideal for designs requiring separation, such as depicting different stages of a butterfly’s lifecycle across a single nail.
Seasonal Nature-Inspired Nail Art
Adapting nail art to reflect seasonal changes in nature creates timely, relevant designs that connect with the world around us.
Spring nail art focuses on renewal and growth, featuring cherry blossoms, tulips, baby animals, and fresh green leaves. Light pastel backgrounds with delicate floral accents capture the essence of this rejuvenating season.
Summer designs embrace vibrant colors and tropical motifs. Consider beach scenes with tiny shells and starfish, or tropical flowers like hibiscus and bird of paradise. Bright corals, yellows, and blues reflect summer’s energetic atmosphere.
Autumn nail art incorporates the rich palette of falling leaves, from deep reds to burnt oranges and golden yellows. Create gradient effects that mimic the ombré coloration of changing leaves, or add 3D elements like tiny acorns for textural interest.
Winter-inspired designs may feature snowflakes, evergreen branches, or winter animals like foxes and owls. Cool blues, silvers, and whites create a frosty foundation for these seasonal nail art designs.
FAQ
How long does 3D nail art typically last? With proper application and care, 3D nail art can last 2-3 weeks. The longevity depends on several factors including the quality of products used, proper sealing with top coat, and daily activities. Avoiding excessive exposure to water and chemicals will help preserve your elaborate nail designs longer. Regular application of top coat every few days can also extend the life of your nature-inspired nail art.
What are the best tools for creating detailed animal nail art? Professional nail artists recommend investing in fine detail brushes (sizes 00 and 000), precision dotting tools in various sizes, and thin striping tape for creating clean lines. Silicone tools with pointed ends help create texture and blend colors for realistic animal fur or feather effects. For beginners, nail art stamping plates with animal patterns offer a simpler way to achieve detailed designs without advanced painting skills.
Can I create nature-inspired nail art on short nails? Absolutely! Short nails can showcase beautiful nature and animal designs with the right approach. Focus on smaller elements like tiny flowers, simple leaf patterns, or animal print accents rather than elaborate scenes. Negative space techniques work particularly well on shorter nails, as do minimal designs that feature just one small element like a butterfly or leaf on each nail.
How can I prevent 3D elements from catching on clothing? The key to comfortable 3D nail art lies in strategic placement and proper sealing. Position raised elements toward the center of the nail rather than the edges, and ensure all components have smooth, rounded edges. Apply multiple layers of a thick top coat, allowing each layer to fully cure before adding the next. Some nail artists also recommend applying a small bead of clear builder gel around the base of larger 3D elements to secure them firmly.
What’s the difference between hand-painted and stamped animal prints? Hand-painted animal prints offer customization and uniqueness, with variations in color, size, and placement that make each manicure one-of-a-kind. Stamped designs provide consistency and precision, creating identical patterns across all nails. While stamping is faster and more accessible for beginners, hand-painting allows for creative color combinations and personalized interpretations of animal patterns that aren’t limited by available stamping plates.
Are there any hypoallergenic options for 3D nail art? Yes, many brands now offer hypoallergenic alternatives for those with sensitive skin or allergies to traditional nail products. Look for “5-free” or “10-free” formulations that eliminate common irritants like formaldehyde and toluene. Pure silicone embellishments tend to be less allergenic than some plastic varieties. If you’ve experienced reactions previously, consider consulting with a professional nail technician who specializes in natural and hypoallergenic nail services.
How do I remove 3D nail art without damaging my natural nails? Professional removal is recommended for elaborate 3D designs, especially those created with gel or acrylic. If removing at home, soak nails in acetone for 15-20 minutes using the foil method, which involves placing an acetone-soaked cotton ball on each nail and wrapping with aluminum foil. After soaking, gently push off loosened elements with a wooden stick—never force removal. Apply cuticle oil and moisturizer afterward to counteract the drying effects of acetone.
Nature and animal-inspired nail art offers a beautiful way to express creativity while connecting with the natural world. The 15 designs explored in this comprehensive guide demonstrate the versatility of this nail art category, from subtle floral accents to bold animal prints and dimensional landscapes. By understanding proper techniques, choosing appropriate colors, and maintaining your nail art correctly, you can create stunning manicures that showcase your personal style and appreciation for nature’s beauty.
Whether you’re a nail art enthusiast looking to expand your repertoire or a beginner eager to try something new, these nature and animal-inspired designs provide endless inspiration. The combination of artistic expression and natural elements results in nail art that’s both timeless and trendy, sophisticated yet playful.
Ready to transform your nails into miniature works of natural art? With the right tools, techniques, and inspiration, you can create nail art designs that capture the essence of the natural world—from delicate cherry blossoms to fierce leopard prints—right at your fingertips. Take inspiration from the world around you and let your creativity blossom through the art of nature-inspired nail design.
Don’t wait to elevate your nail game—start exploring these nature and animal-inspired nail art designs today and discover a new dimension of creative expression that makes a statement with every gesture.
